With QuickBooks Integration you never enter data twice. Transactions you enter into CMS are automatically entered into QuickBooks for you with a single click.
The Deposit List has a QuickBooks

button. When you click this button, all the Transactions of that deposit are entered automatically into your QuickBooks.
Setup
To get started, click Settings > Transactions Module > QuickBooks Companies.
(If you don't have this option in your Transactions Module, please reach out to tech support so it can be turned on for your account.)
Click the

QB Connect button. You will be prompted to login to your QuickBooks Online account (if you're not logged in yet) and give Authorization to CMS Cloud to view and update your QuickBooks Online data.
Click Connect.
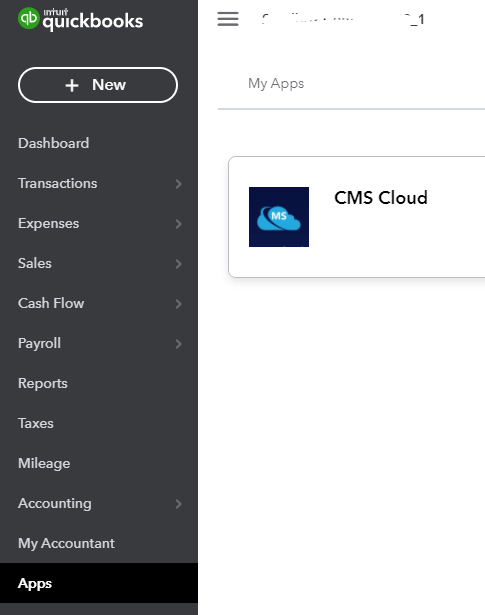
To verify that the connection was successful, click Apps in QuickBooks Online and you should see the CMS Cloud app listed under My Apps.

It is possible to set up multiple QuickBooks Companies, each QuickBooks Company is connected with a Department. We recommend that in your initial setup you start with a single company and if needed only add additional QuickBooks companies once you're familiar with how the system works.
Once your account is Authorized, you need to edit your Department and choose your QuickBooks Company File.
This is done under Settings > Transactions Module > Departments. Click Edit and choose your QuickBooks Company File.
Now that your QuickBooks company is authorized and assigned to a Department, you're ready to use the integration.
Mapping
Mapping is an important part of the integration setup. It tells CMS how you want the data to be entered into QuickBooks. For example, when a deposit is created in QuickBooks with all it's details, CMS needs to know which QuickBooks Bank Account to use and which customers.
There are different items that need to be be mapped in order for deposits and payments to be entered successfully in QuickBooks.
The following table summarizes these items
| CMS |
QuickBooks |
| Families |
Customers |
| Bank Accounts |
Bank Accounts |
| Payment Methods |
Payment Methods |
| Subcategories |
Service Items |
| Classes |
Classes |
If during the attempt to enter data in QuickBooks, the system detects that an item in that payment or deposit is not mapped, a page is displayed gives you the opportunity to map that item. For example if a Payment has "Visa" as the Payment Method, and this method does not exist in QuickBooks, or it was not confirmed as mapped, the page will display asking you to map the Visa method to an existing QuickBooks Payment Method, or to create a new QuickBooks payment method.
Using this approach makes it easy to get started with the integration without having to go through and map all your items. As you are using the integration, more and more items will become mapped and you will be prompted for mapping less and less when adding data to QuickBooks.
Nevertheless, it is advisable to prepare some of the mapping in advance for the more commonly used areas such as Bank Accounts. To set up mapping in advance, click Settings > Transactions Module > QuickBooks Companies. Then click Edit.